This guide is intended for electricians installing PhiSaver.
Equipment
You’ll receive an enclosure with everything required:
Standard
- 1x IotaWatt central unit, pre-configured
- ~10x CTs (current transformers, walnut sized with 1.2m lead)
- 1x VTs (voltage transformer, a plug pack)
- 1x USB cable
- GPO with USB ports
Optional
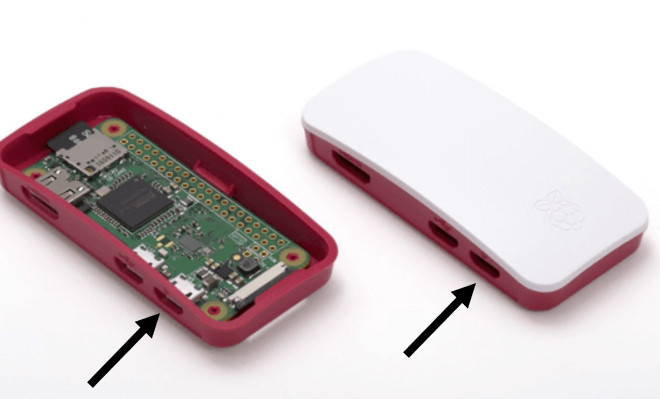
- 1x microcomputer (matchbox size), pre- configured, with USB cable
The final install looks like this:
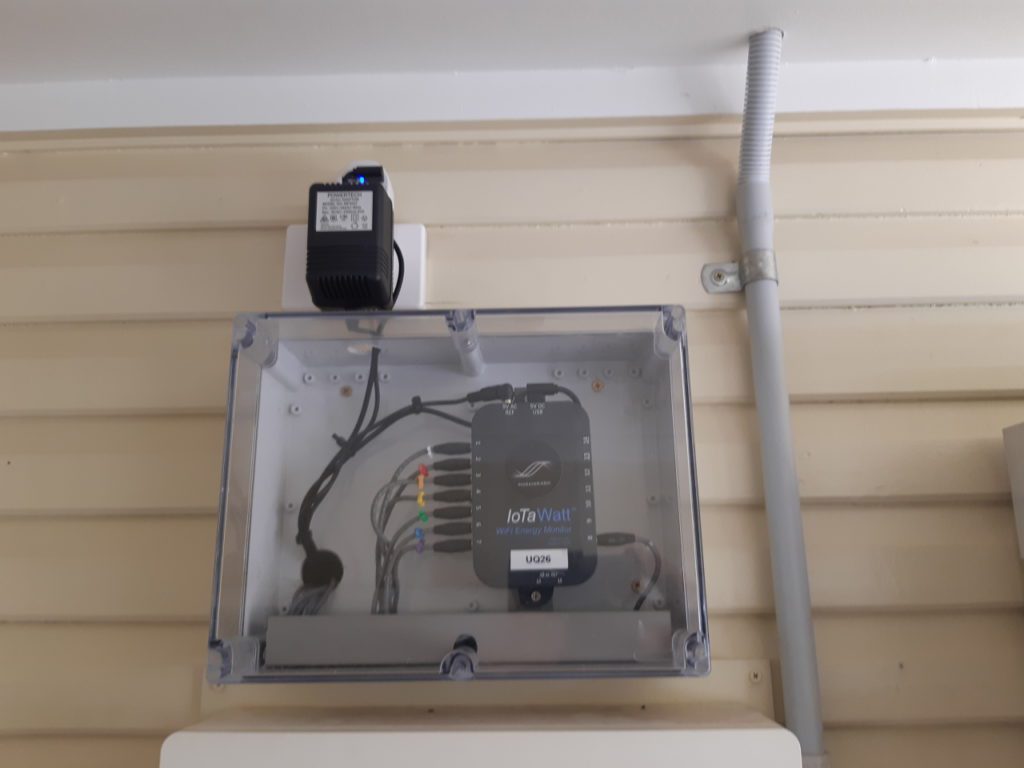
… and this on the inside:
Step 1 : Powerpoints / GPOs
Determine where to install the GPO. This can be installed inside the enclosure (neater) or outer (more flexible).
Step 2 : Mount the Enclosure
The standard enclosure is about 200×300. Mount it in a protected location out of heavy rain. Use the optional sheet metal for exposed location.
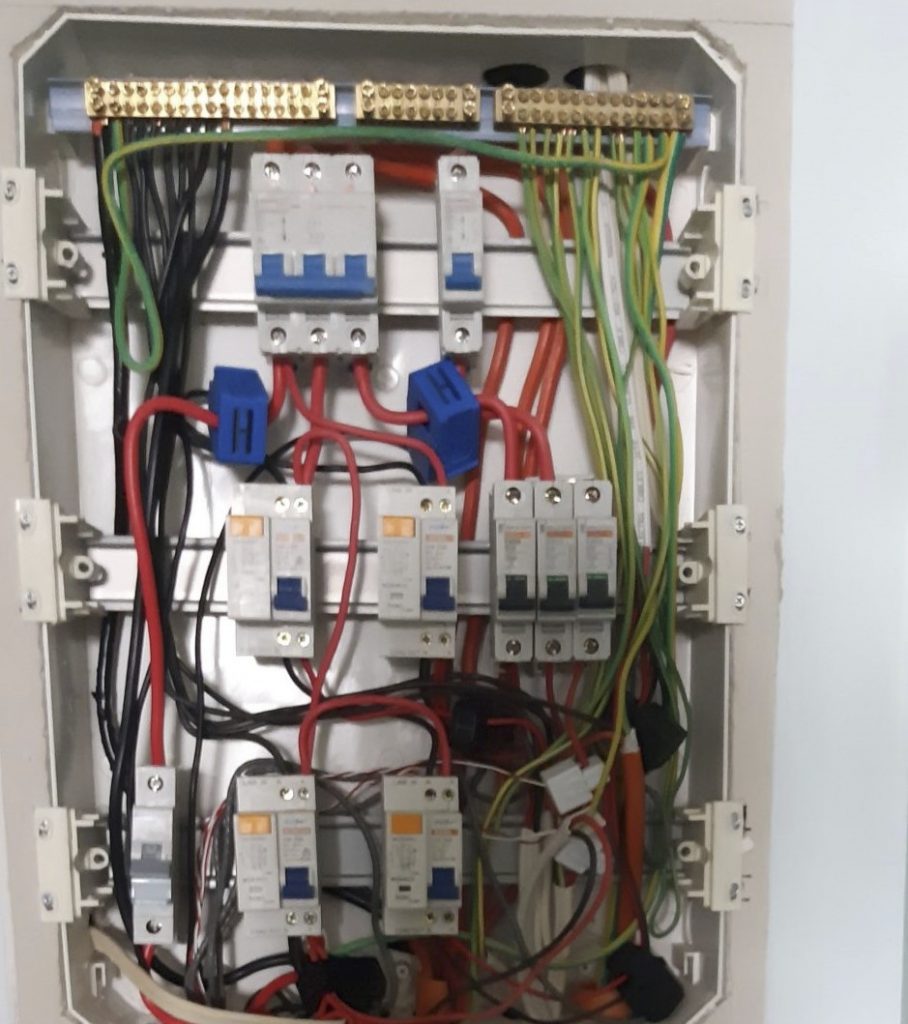
Mount the enclosure near (<1m) the board. CT cables will pass from the board to the enclosure.
Depending on the wall, it is possible to route the cables inside the wall. Otherwise, use 32mm conduit to pass the cables through.
Step 3 : Install CTs
Clip the active (only) of each monitored circuit with a CT. A list is supplied of which circuits get which CTs. After clipping, route the leads to the IotaWatt.
Each CT is numbered and plugs into the same number on the IotaWatt.
Safety Note: All clipped CTs must be plugged in to the IotaWatt.
Step 4 : Install VTs and USB
Plug in the 9v transformer (the heavy one) and route the lead to the IotaWatt. It is labeled “9V AC REF”.
Plug in the USB adapter and cable, and route to the IotaWatt. It is labelled “5V DC USB”
Optional Micro Computer (if supplied)
Plug in the second USB cable to the adapter, and route to the red and white microcomputer – see photo.
Step 5 : Check
- CT-1 is in socket 1 on the IotaWatt, etc.
- The jacks are are fully pushed into the IotaWatt (easy to miss)!.
- 9V AC transformer is plugged into GPO and IotaWatt.
- WiFi is available.
Step 6: Go!
Turn on power. Wait five minutes. When it’s working when you get:
- IotaWatt: pulsing green light
- Microcomputer (if used): pulsing green light
Contact PhiSaver for final checks and instructions.